Simplifying Reverse Proxy Management with Docker and Nginx Proxy Manager

In today's world of web development, managing multiple web services can become quite a challenge. Each service needs to be accessible, secure, and performant. One of the most efficient ways to handle these needs is by using a reverse proxy. Enter Nginx Proxy Manager, a user-friendly tool that simplifies managing reverse proxies with Nginx. In this post, we'll explore what Nginx Proxy Manager is, why it's beneficial, and how you can get started with it using Docker.
What is Nginx Proxy Manager?
Nginx Proxy Manager (NPM) is a powerful and easy-to-use web-based tool that allows you to manage Nginx reverse proxy instances. It provides a simple, intuitive interface for configuring and managing proxies, SSL certificates, and various web services. NPM eliminates the need to manually edit complex Nginx configuration files, making it an excellent choice for developers and system administrators who want to streamline their workflow.
Benefits of Using Nginx Proxy Manager
1. User-Friendly Interface
One of the standout features of NPM is its user-friendly graphical interface. You don't need to be an Nginx expert to configure and manage your reverse proxies. The interface makes it easy to set up proxies, manage SSL certificates, and monitor traffic.
2. Simplified SSL Management
SSL certificates are crucial for securing web traffic. NPM simplifies SSL management by integrating with Let's Encrypt, allowing you to easily obtain and renew certificates. This ensures your services remain secure without manual intervention.
3. Efficient Resource Management
By using a reverse proxy, you can efficiently distribute incoming traffic across multiple backend servers. This not only improves performance but also enhances the reliability and scalability of your services.
4. Easy Integration with Docker
NPM can be seamlessly integrated with Docker, making it a perfect choice for containerized applications. Docker allows you to deploy and manage NPM alongside your other services, ensuring a consistent and isolated environment.
Getting Started with Nginx Proxy Manager and Docker
Prerequisites
Before we begin, make sure you have the following installed:
Step-by-Step Guide
-
Create a Docker Compose File
Create a
docker-compose.ymlfile in your project directory. This file will define the NPM container and its configuration.version: '3' services: app: image: 'jc21/nginx-proxy-manager:latest' restart: unless-stopped ports: - '80:80' # HTTP - '81:81' # Admin Interface - '443:443' # HTTPS environment: DB_SQLITE_FILE: "/data/database.sqlite" volumes: - ./data:/data - ./letsencrypt:/etc/letsencrypt -
Start the NPM Container
Navigate to your project directory and run the following command to start the NPM container:
docker-compose up -dThis command will download the NPM image and start the container in detached mode.
-
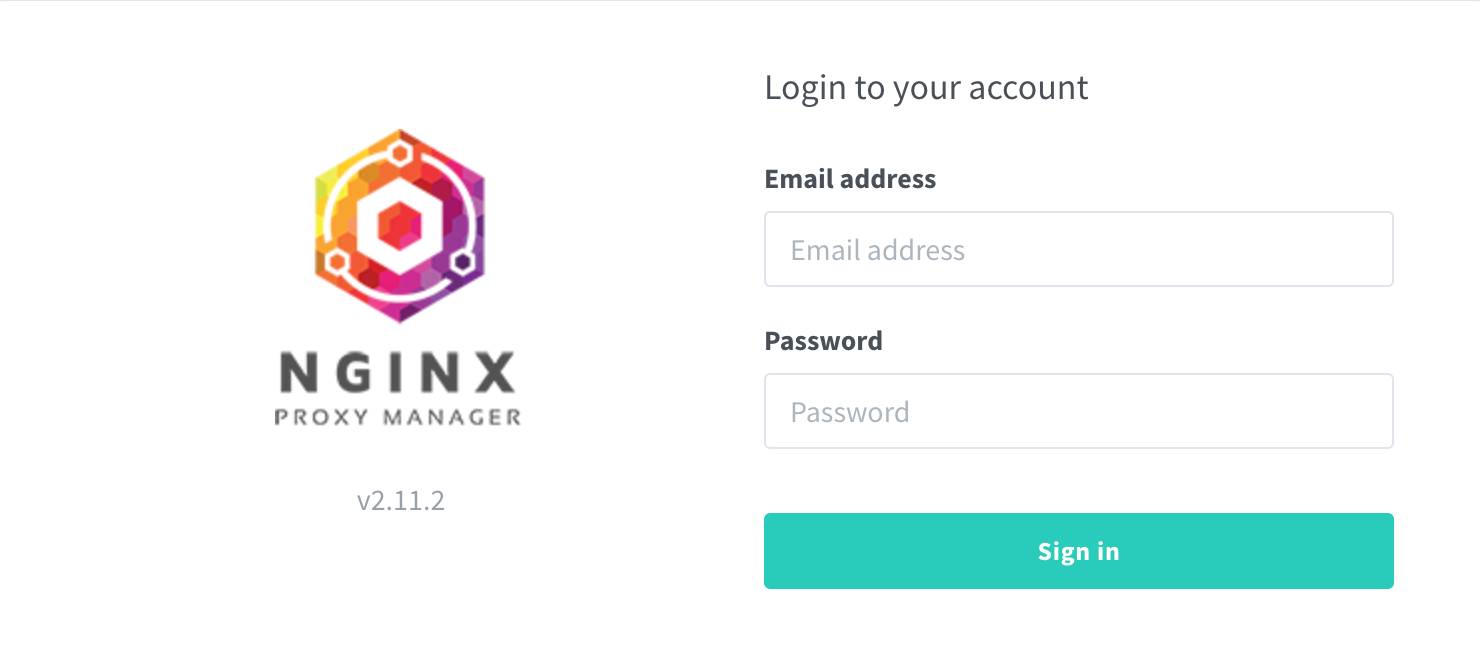
Access the Admin Interface
Open your web browser and navigate to
http://<your-server-ip>:81. You should see the NPM login page. The default credentials are:- Email:
admin@example.com - Password:
changeme
Make sure to change these credentials after your first login.
- Email:
-
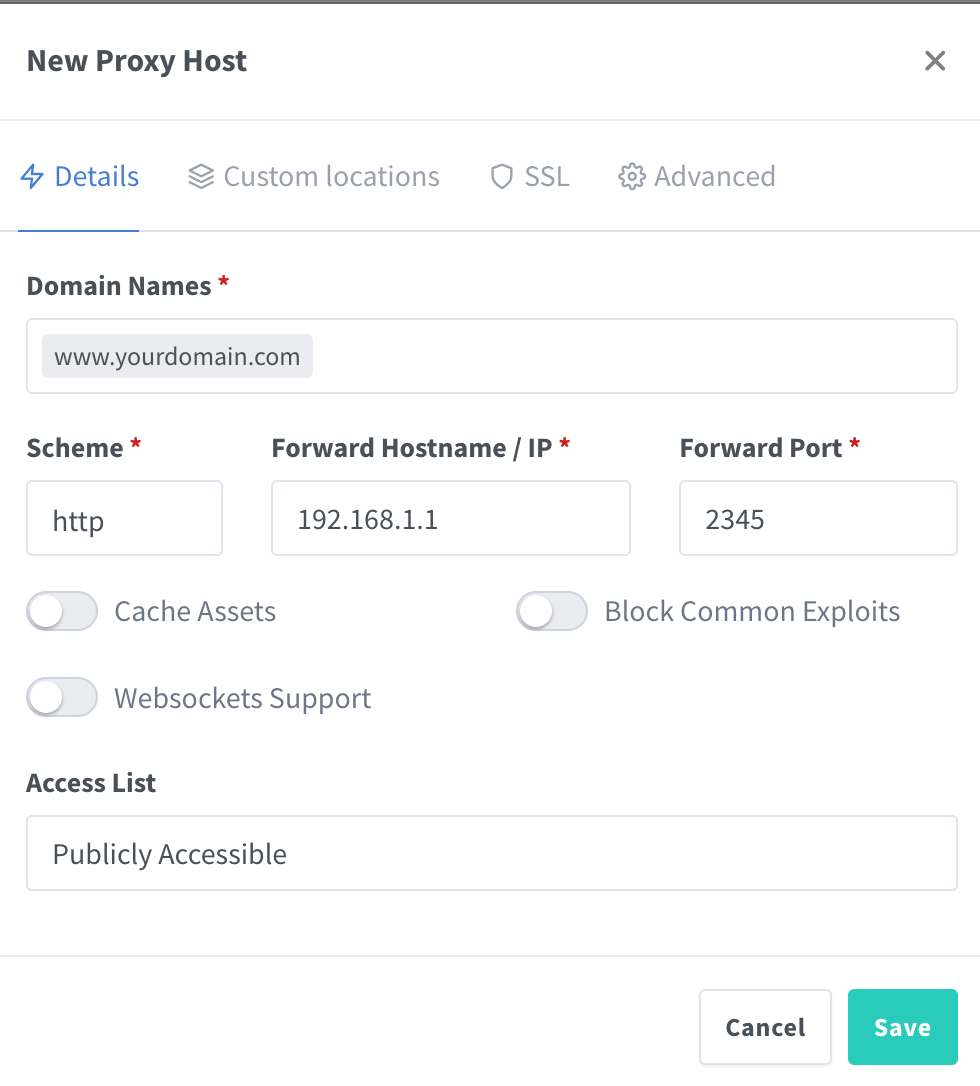
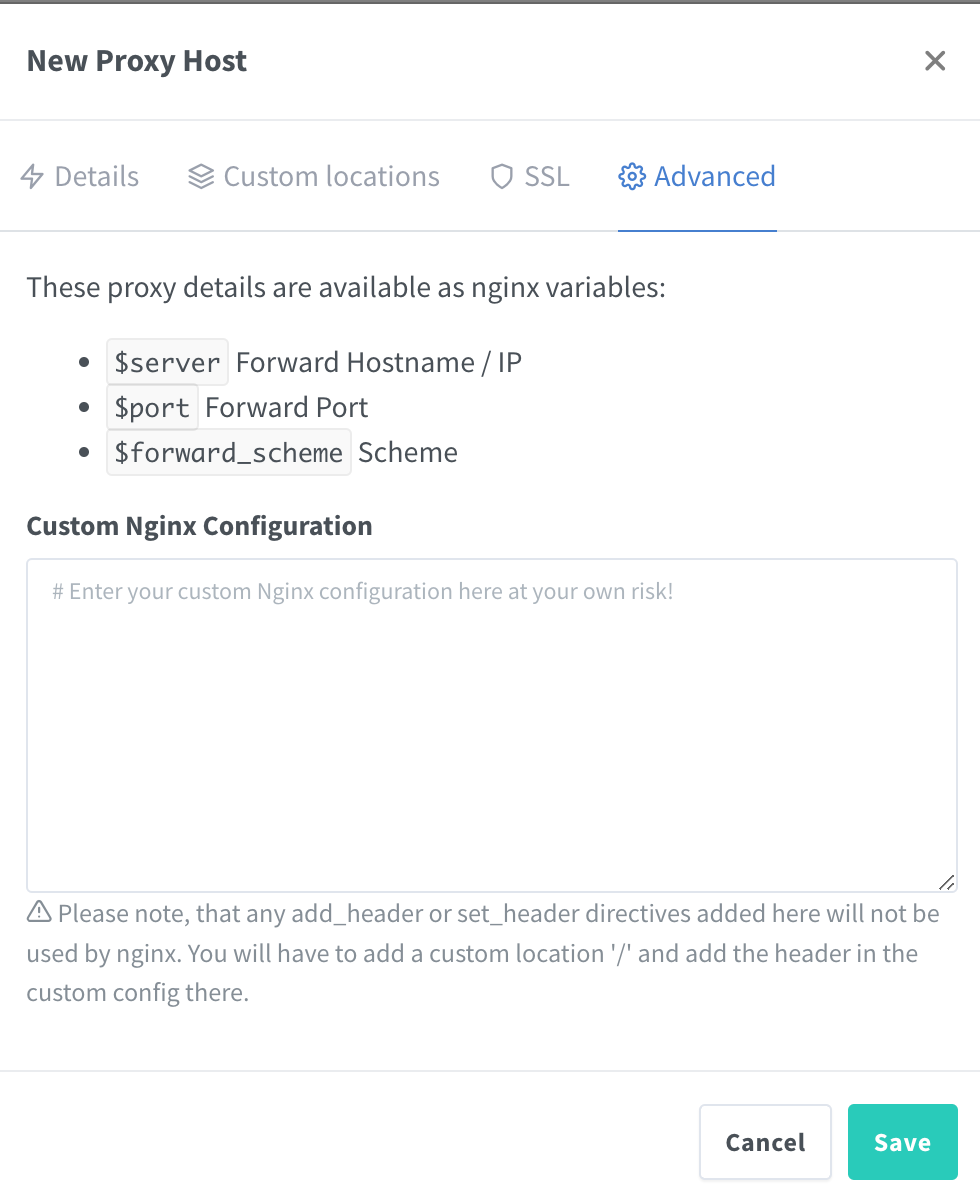
Configure a Proxy Host
Once logged in, you can start adding your proxy hosts. Click on the "Proxy Hosts" tab and then the "Add Proxy Host" button. Fill in the required details, such as the domain name, forward hostname/IP, and port.
-
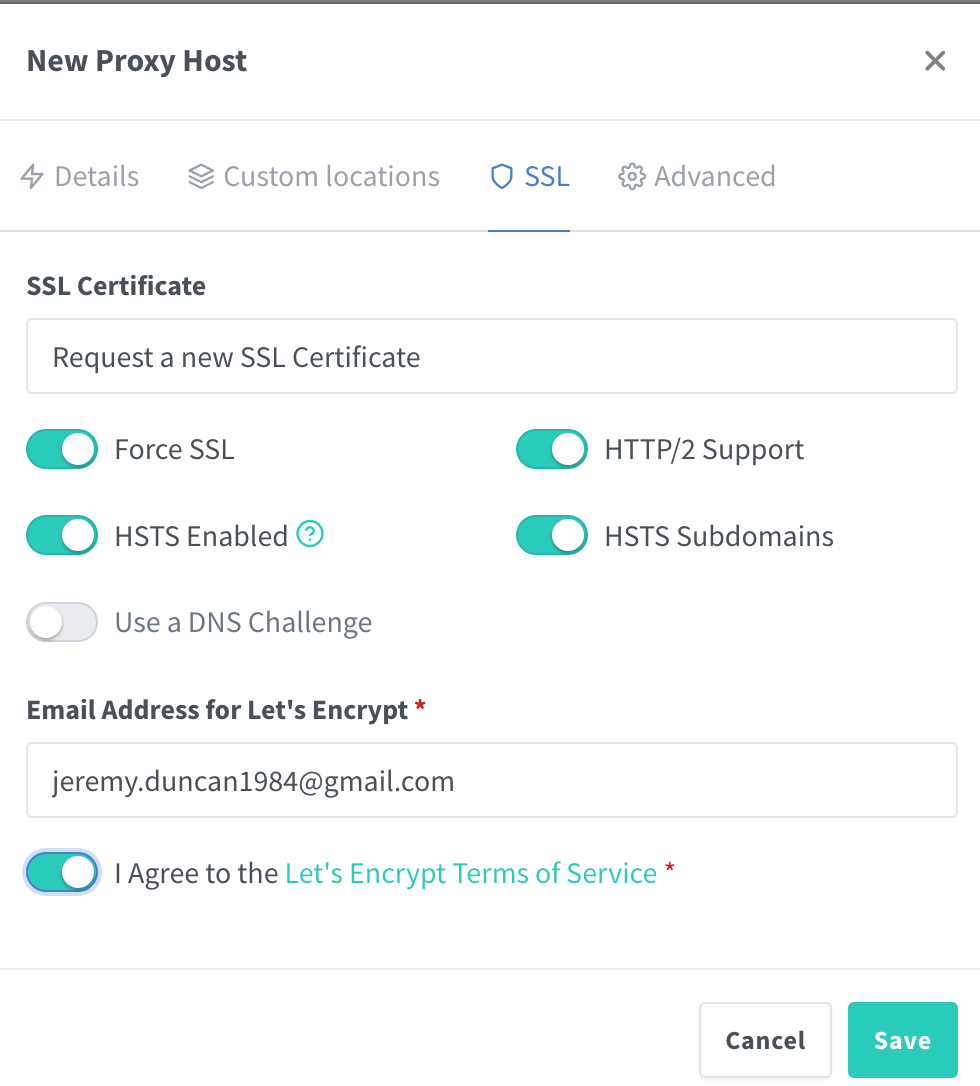
Set Up SSL
Under the SSL tab, you can select "Request a new SSL certificate" to obtain a Let's Encrypt certificate for your domain. This will ensure your traffic is encrypted and secure.
Conclusion
Nginx Proxy Manager, combined with Docker, provides a powerful and straightforward solution for managing reverse proxies. Its intuitive interface, simplified SSL management, and efficient resource handling make it an ideal choice for developers and system administrators alike. By following the steps outlined in this post, you can quickly get started with NPM and streamline your reverse proxy management.
Feel free to share your experiences and any tips you might have in the comments below. Happy proxying!